Patient Education
Emergency Dental CareHow to Build a Dental Emergency Kit for Your Home
Dental wax, temporary filling material, gauze, and pain relievers should be in every household. A practical guide to building your emergency dental kit.
- Emergency Dentistry
- Dental Tips
- Patient Guide
Just as every household should have a first-aid kit for cuts, scrapes, and minor injuries, every home should have a dental emergency kit. Dental emergencies can happen suddenly and often at inconvenient times when a dentist’s office is closed. Having essential supplies on hand means you can manage initial symptoms, protect your tooth, and minimize pain while you wait to see Dr. Bonin. A basic dental emergency kit costs very little to assemble and takes just a few minutes to put together.
Essential Items for Your Dental Emergency Kit
Start with pain relief. Include both over-the-counter pain relievers like ibuprofen or acetaminophen, and a topical numbing gel designed specifically for dental use. The oral gel can be applied directly to the affected gum to provide temporary pain relief. Include various strengths and forms, such as tablets for internal pain management and gel for topical use.
Dental wax is essential. This is a moldable substance that you can shape and place over sharp edges or rough spots in a broken or chipped tooth. It protects your tongue and cheek from cuts and provides some protection to the tooth. You can find dental wax at any drugstore or pharmacy, often near the orthodontia supplies.
Temporary filling material is invaluable if you lose a filling. These kits come with a putty-like material that you mix and pack into the hole left by a lost filling. This protects the exposed tooth structure temporarily until you can see Dr. Bonin. Products like Temparin or Cavit are widely available and inexpensive.
Include sterile gauze pads or clean cloth. These help control bleeding if you have a traumatic injury like a knocked-out tooth or a cut lip. Pack several different sizes.
Include a small container with a lid, such as a medicine bottle or small plastic case. This is for storing an avulsed tooth if it is knocked out. A tooth stored in milk, saline solution, or saliva is better preserved than one wrapped in dry cloth. Having a clean, small container on hand means you can immediately store a knocked-out tooth properly without scrambling to find something suitable.
Include packets of saline solution or a small bottle of sterile saline. This is ideal for rinsing a knocked-out tooth or for rinsing your mouth after an injury.
Include cotton swabs or small cotton balls for applying topical medications.
Additional Items to Consider
Add a small mirror so you can inspect your mouth and see the problem clearly. Add tweezers or a small dental pick to carefully remove debris or food caught in or around the injured tooth.
Include an ice pack or a small freezer pack. Cold reduces swelling and numbs pain. Even a bag of frozen vegetables wrapped in cloth can serve this purpose, but having a proper ice pack on hand is convenient.
Include a small notepad and pen. Write down symptoms and the time of injury or onset of pain. This information is helpful when you call Dr. Bonin to describe the situation.
Add the phone number for Bonin Dental Care and your backup emergency dentist or hospital. In a moment of pain or panic, you might not think to look up contact information.
Storage and Maintenance
Store your dental emergency kit in a cool, dry place where it is easy to find, such as a bathroom cabinet or kitchen drawer. Keep it clearly labeled so anyone in your household can locate it quickly. Keep a duplicate kit at your workplace if you have an office or workplace away from home.
Check your kit every 6 to 12 months. Replace any expired over-the-counter medications, and replenish gauze or other supplies that may be damaged or used. Ensure that all sealed products are still intact and that no items have deteriorated.
How to Use Your Kit
If you have a lost filling, rinse the tooth with water and dry it as much as possible. Mix the temporary filling material according to the instructions, press it into the cavity, and smooth it level with the surface of the tooth. Avoid chewing on it, and plan to see Dr. Bonin within a day or two for a permanent filling.
If you have a broken or chipped tooth with a sharp edge, place dental wax over the sharp spots to prevent cuts to your tongue and cheek. This is a temporary measure only.
If you have a knocked-out tooth, immediately place it in your container with milk or saline solution, and call Dr. Bonin to alert him to the emergency. Every minute counts with an avulsed tooth.
If you have pain, take pain medication as directed on the package, and apply topical numbing gel to the painful area if desired. Apply ice to the outside of your face to reduce swelling.
If you have bleeding, use your gauze to apply pressure and control bleeding. Bite gently on a gauze pad for several minutes if needed.
When to Call Dr. Bonin
After you have used your emergency kit to manage immediate symptoms, call Bonin Dental Care to describe what happened and to schedule an urgent appointment if needed. Do not rely on your emergency kit as a permanent solution. It is designed to manage symptoms and protect your tooth temporarily while you arrange professional dental care.
For a knocked-out tooth or any injury that causes severe pain, swelling, or bleeding that you cannot control, call immediately, even if it is after hours. If we are not available, follow the emergency guidance to seek care at an emergency dentistry facility.
Prevention Is Better Than Emergency Management
While having an emergency kit is important, the best approach is to prevent dental emergencies in the first place. Maintain excellent oral hygiene, see Dr. Bonin for dental cleanings and exams twice per year, and address any dental problems promptly. Wear protective equipment like a mouthguard if you play sports. Avoid biting on hard objects, and be mindful of potential hazards.
A well-stocked dental emergency kit is a smart investment in your household health and preparedness. Spend a little time assembling one now, and you will be prepared if a dental emergency strikes. And remember, your emergency kit is a temporary solution. When a dental emergency happens, contact Dr. Bonin at Bonin Dental Care as soon as possible for professional evaluation and treatment.
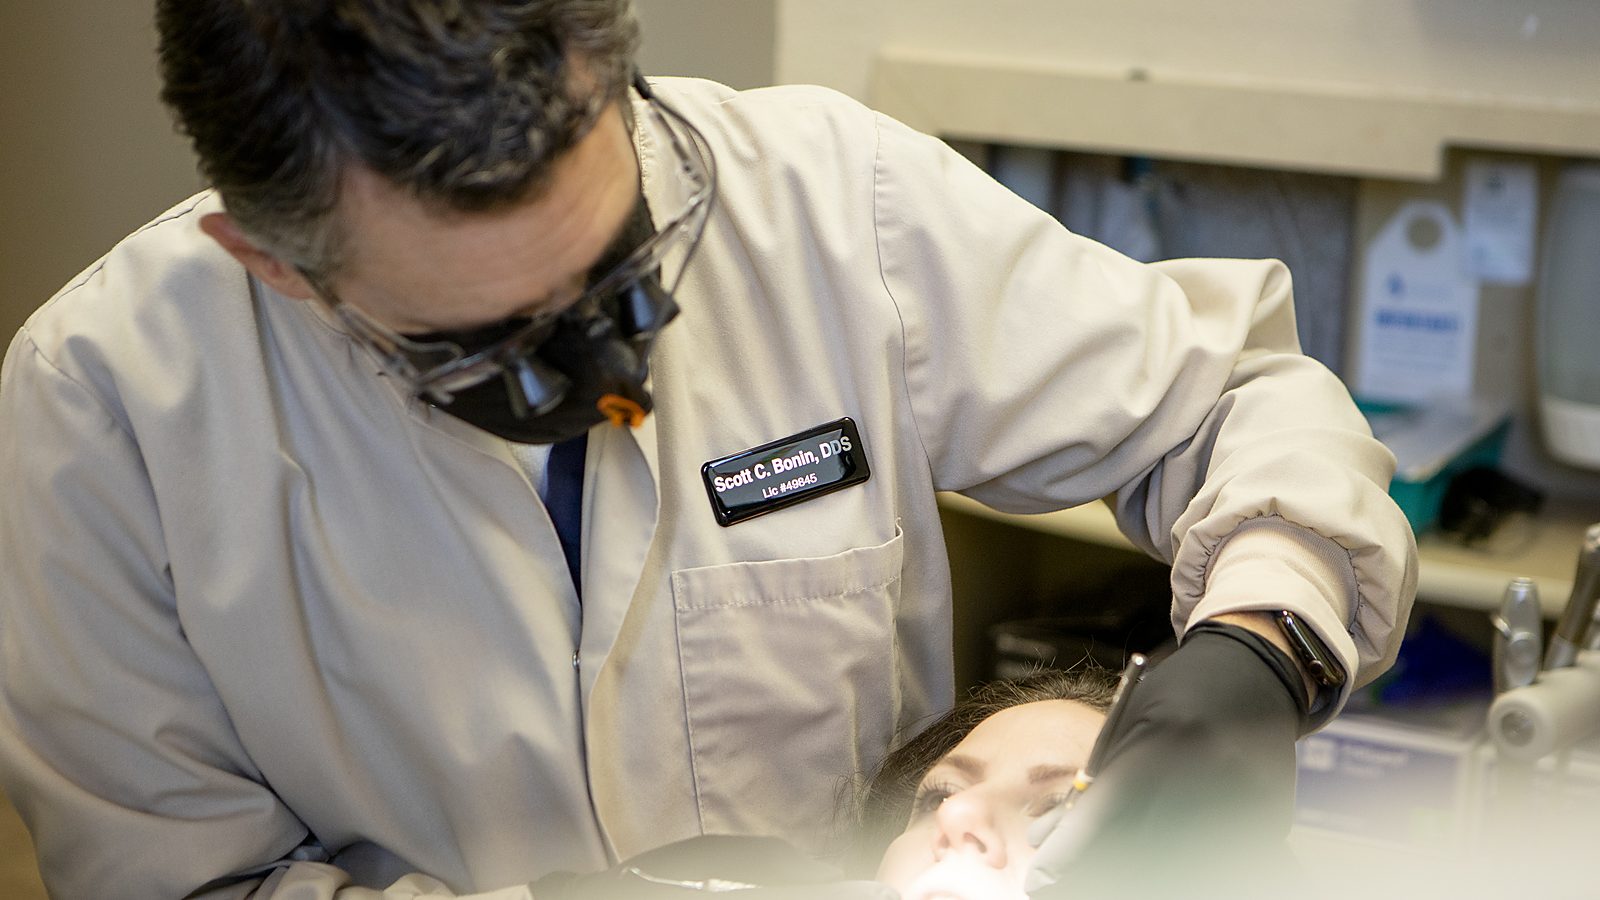
Written by
Dr. Scott Bonin, DDSGeneral and cosmetic dentist at Bonin Dental Care in Windsor, California. USC School of Dentistry graduate, Navy veteran, and member of the American Dental Association, California Dental Association, and American Academy of Cosmetic Dentistry. Over 24 years of clinical experience serving Sonoma County families.
View full credentialsClinical note: This article is for educational purposes and does not replace a professional examination. Every patient's situation is unique. If you have questions about your specific dental health, please schedule an appointment or call (707) 838-1400.
Related Services
Explore the treatments behind this topic
Ready to talk with Dr. Bonin about what you just read? Here are the procedures at Bonin Dental Care most closely connected to this article. Each page explains how we do the work, what to expect, and how to get started.
-
General & Preventive
General Dentistry
Comprehensive exams, professional assessments, and preventive strategies designed to catch problems early and keep your smile healthy.
Learn about this service -
Urgent Care
Emergency Dentistry
Same-day or next-day treatment for toothaches, abscesses, trauma, and broken restorations. Call immediately.
Learn about this service -
General & Preventive
Dental Cleanings
Professional cleanings remove tartar and buildup that home care cannot reach, preventing decay and gum disease.
Learn about this service
Ready to book your visit with Dr. Bonin?
New patients welcome. Call (707) 838-1400 or request an appointment online.
Keep Reading
More from our library
-

What to Do in a Dental Emergency in Windsor, CA
Knocked-out tooth? Severe toothache? Broken crown? Know the protocol and when to call Bonin Dental Care at (707) 838-1400 or after-hours (707) 797-9243.
-
Swollen Gums: Causes and When to Seek Emergency Care
Gum swelling can range from mild irritation to a sign of serious infection. Learn how to distinguish routine inflammation from a dental emergency.
-
Electronic Health Records in Dentistry: How They Improve Your Care
Digital records enable better coordination, faster referrals, and comprehensive treatment histories. Learn how EHR systems benefit patients directly.